Last Updated on October 13, 2024 by Daniele Lima
Discover how DIY can bring beauty, practicality, and low costs to decoration or renovation
Looking for a comfortable and stylish environment is common in modern life, but that doesn’t mean you need to put in a lot of effort or spend exorbitant costs to transform your home or office.
It is a fact that DIY decoration is gaining more and more space in the real estate market, is what the Terra website shows us.
In our DIY series: Cut Money and Save Space, we’ll explore innovative approaches that will make all the difference when decorating or remodeling your space. We’ll show you how you can get amazing results without breaking your budget.
Whether you’re an interior design enthusiast or just want to add a personalized touch to your home, you’re reading the right article! It will certainly be your practical guide for creating impressive spaces at low costs, proving how the power of creativity and personal effort can transform any environment. For those who love to make a Christmas decoration, being a DIY fan can be quite advantageous.
If this topic is new to you, come learn how to save money and surprise yourself with your DIY skills!
Table of Contents
What Does DIY Mean
DIY is an abbreviation that means “Do It Yourself” in English and can be translated into Portuguese as “Do It Yourself” or “Do It Yourself”.
Term used to describe the practice of creating, building, repairing, or modifying your own objects, projects, or tasks, rather than relying on professional services or unusual products.
Simply put, DIY refers to an activity in which people take on the responsibility of doing things themselves, in the case of this article it will be in the field of decorations and renovations, but this is a popular approach that can also be used in hobby projects and much more.
Let’s now show some examples of this skill that you can apply in your environments:
1 – DIY Greenhouse
Necessary materials:
Frame: A greenhouse will require a frame. They can be made of PVC, wood, metal, or any other durable material. The size depends on the plant you want to grow.
Layer: The cover can be made of plastic, polycarbonate, or greenhouse film. Plastic is an economical choice, while polycarbonate is more durable and insulating.
Tools: You will need the following tools: saw, drill, screws, weatherproof tape, saw and hammer.
Greenhouse construction steps:
Planning: Determine the size and location of the greenhouse. Make sure it gets enough sunlight and is protected from strong winds. Draw a sketch or plan.
Structural Construction: Build the greenhouse structure according to the project. If using PVC, cut the pipe to the desired length and attach it to the frame. If using wood or metal, cut and attach the frame.
Roof: Cover the structure with your preferred roofing material. Attach the plastic, polycarbonate, or greenhouse film to the frame using staples, nails, or screws. Make sure the lid is closed tightly and free of creases.
Doors and Ventilation: Install doors on the greenhouse for easy access. You can also add windows or vents to control the temperature and humidity in the greenhouse.
Soil Preparation: Prepare the soil in the greenhouse by adding good quality soil, fertilizer, and drainage material if necessary.
Shelves and benches: Add shelves or benches to your greenhouse to position plants. Make sure the shelves are strong enough to support the weight of the plants.
Watering and Monitoring: Set up a proper irrigation system to keep your plants hydrated. Monitor the temperature and humidity in the greenhouse using a thermometer and hygrometer.
Planting: You can now plant seedlings or seeds in your greenhouse. Choose plants that adapt to greenhouse conditions.
Maintenance: Monitor your plants regularly, water them as needed, and provide species-appropriate care. If necessary, ventilate the greenhouse to prevent overheating.
These are general guidelines and information may vary depending on the size, materials, and purpose of the greenhouse. The idea is to do some additional research to adapt the project to your specific needs.
2 – DIY Closet Shelves
Necessary materials:
- 1 – MDF, plywood, or wood boards of your choice.
- 2 – Circular saw or handsaw.
- 3 -Measuring tape and pencil.
- 4 – Shelf supports.
- 5 – Screws.
- 6 – Screwdriver.
- 7 – Level.
- 8 – Sander and sandpaper.
- 9 – Primer and paint (optional).
Steps:
Measure your closet space: Start by measuring the width, depth, and height of the closet space where you want to install the shelves. This will help you determine the size of your shelf.
Select material: Choose the material for your shelf. MDF and plywood are good choices because they are easy to work with. Cut the boards according to your measurements.
Sanding and Preparing: Sand the edges of the shelf to smooth out the rough edges. If you wish, you can use a primer and then paint the shelves any color you want.
Install the Shelf Brackets: Use a level to mark where the shelf brackets will attach to the cabinet wall. Make sure the supports are properly aligned and level. Use a screwdriver and screws to secure the bracket in place.
Place the shelves: Place the shelves into the brackets and make sure they are level and secure. Adjust as needed.
Attaching the shelf: Attach the shelf to the brackets using screws. Make sure the shelf is securely attached.
Check stability: Make sure your shelves are secure and can support the weight of the items you plan to store on them.
Check stability: make sure your shelves are secure and can support the weight of the items you plan to store on them.
Organize your closet: Now that you’ve installed the shelves, organize your items as needed.
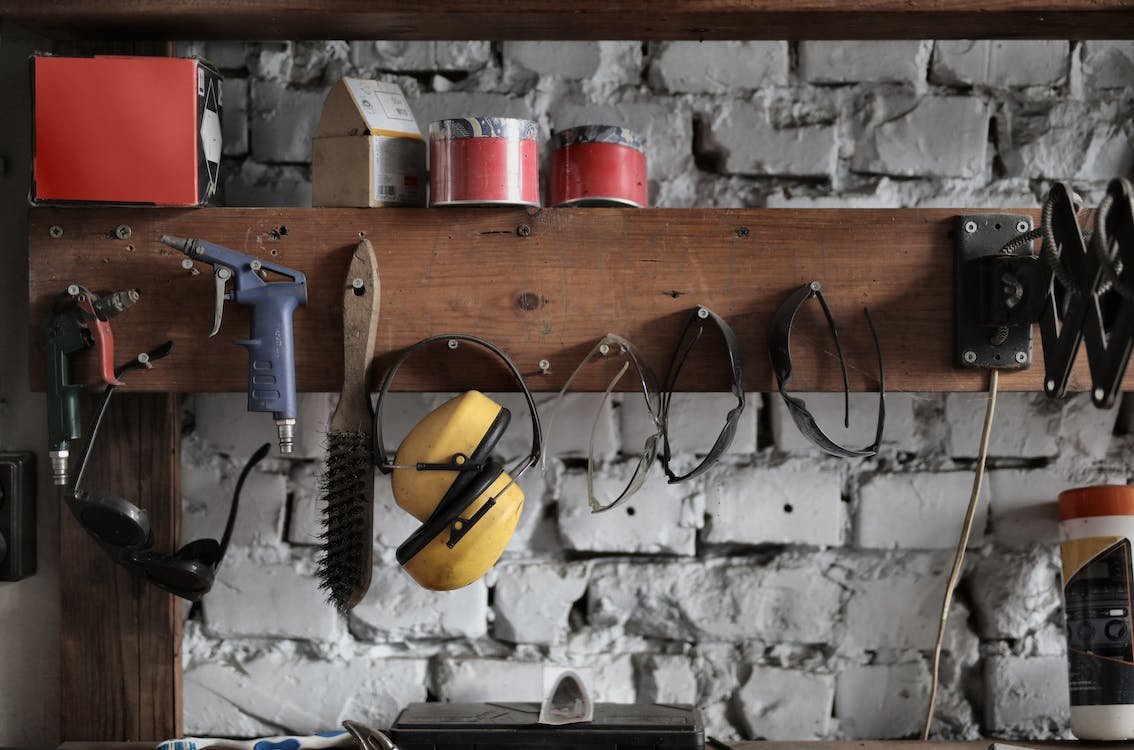
Remember that safety is paramount when handling tools and materials. When using power tools, wear safety glasses and gloves and follow all recommended safety precautions.
This is a basic DIY project for building closet shelves, but you can customize the material, color, and style to your liking.
Plan your project well, measure accurately, and follow the steps carefully to create functional and attractive closet shelves.
3 – DIY Wall Textures
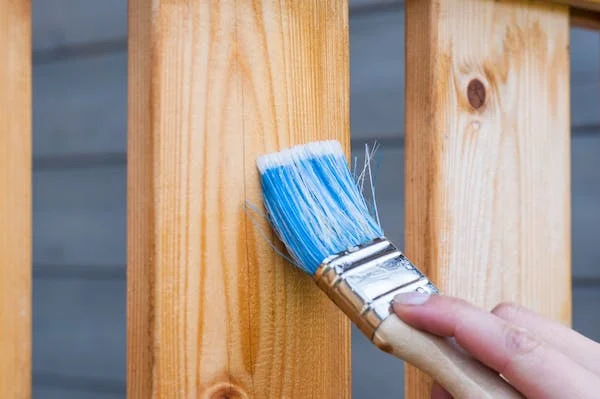
Wall preparation: Start by preparing the wall. Make sure the surface is clean, dry, and free from imperfections. If necessary, apply a layer of spackle and sand to obtain a smooth surface.
Mixture preparation: Prepare the texture mixture. Mix spackle or powdered plaster with a little water until you get the desired consistency. If desired, you can add color to the texture by adding acrylic paint to the mix.
Apply texture: Dip a sponge in the mixture and gently apply it to the wall in circular motions. Do not apply too thick a layer at once. It is best to apply several thin layers to prevent the texture from becoming too heavy.
Let dry: let the texture dry completely. Drying time may vary but generally takes a few hours.
Final touch: After drying, if necessary, the texture can be lightly sanded to even out the roughness. Use the brush to touch up areas that need adjustment.
Texture Roller Technology:
Preparing the Wall: Prime the wall like a sponge technique.
Prepare the mixture: Mix spackle or powdered plaster with water until you get the right consistency. Add acrylic paint if desired.
Apply Texture: Dip a textured roller into the mixture and roll it gently across the wall. Make sure you cover the entire desired area.
Let dry: Let the texture dry completely. This usually takes several hours.
Final touch: If desired, the texture can be painted in the desired color after drying.
The result will be better if you practice on a small area, before applying the texture to the entire wall. It’s important to cover any areas you don’t want to texture with masking tape.
This technique allows you to create different textures, so choose the one you like best matches your home decor, and then enjoy your space!
4 – DIY Decor

1 – Glass bottle lamp: Transform a glass bottle into a pendant lamp. Paint or attach fabric to the bottle for a personalized touch. Add LED candles or fairy lights to create a cozy lighting effect.
2 – Juicy Painting: Paint your walls with live succulents. Try adding small succulents to wooden frames or picture frames. They can act as living works of art.
3 – Rope shelf: Use rope and wooden planks to create a hanging shelf. It can add a rustic and cozy touch to your room decor.
4 – Decorated Bottles: Reuse glass bottles of different sizes and shapes. Paint, decorate with stickers, or use decoupage techniques to transform them into vases, table centerpieces, or simple decorations.
5 – Branch frame: attach framed branches to the wall and use clothespins to attach photos or notes. We create a special display for your memories.
6 – Hand-painted rug: create your own hand-painted rug. Use stencils, tape, or brushes to create custom designs on plain rugs.
7 – Homemade wooden frame: Create your own wooden frame. They can be engraved or engraved with special details.
8 – Wall panels on pallets: Open up a wooden pallet and use the boards to create rustic wall panels. You can sand, stain, or paint the boards to get the look you want.
9 – Colored thread curtains: Create colorful yarn curtains by tying different colored yarn to a stick or string. It can add color and movement to a room.
10 – Concrete Glass: Create your own concrete vase using a silicone mold. You can paint it or leave it looking like natural concrete.
11 – Dollar Tree:(dollar tree diy decor)
Make a small Christmas tree using dollar bills as decorations. Fold the note into a star shape or wooden fold and attach it to the wooden stand.
Remember, the beauty of DIY decoration lies in the personalization and individual creativity of each decorator, whether professional or amateur.
You can adapt these ideas to suit your own style and the needs of each space.
The materials used can also vary depending on availability, or what you are trying to work with. Enjoy the process of your decorative creation and have fun!
5 – DIY Rustic Decoration
Wooden Floating Shelves: Use reclaimed wood planks or rustic wood to create floating shelves. For an added industrial touch, mount shelves on the wall with old metal brackets and display rustic decor items such as ceramic vases, candles, plants, and books.
Twig Photo Frame: Collect thin, dry twigs and cut them into pieces to create a unique picture frame. Gather photos of family or special moments and place them in a tree branch frame for a personalized rustic look.
Center of the tree trunk: Find a clean, trimmed tree trunk. Cut into thick, smooth discs to create a rustic base for your centerpiece. Add candles, pine cones, moss, and other natural elements for a rustic touch.
Horn Rings: Collect deer antlers (or replica antlers) and attach them to a wooden board as a wall hook. These hooks can be used to hang coats, hats, and bags.
Transform wooden stairs into shelves: Transform old wooden stairs into rustic shelves. To create a distressed look, remove the base and paint or sand the treads. Then, place wooden shelves on the stairs to display your decorative items.
Glass jars and candles: Gather glass jars of different sizes and place candles inside them. Use a wooden cutting board as a base and place a glass jar on it. Add jute twine or twine for a rustic touch.
Pallet Frame: Turn a wooden pallet into a rustic chalkboard. Paint the tree with chalkboard paint and add rings or baskets to hold chalk and erasers. Use it as a bulletin board or to-do list.
Use a tree branch as a hanger: Find a sturdy tree branch and peel the bark. Hang a tree branch on the wall and use it as a natural hanger. Perfect for hanging coats, bags, scarves, hats, etc.
Rope Ladder Shelf: Use an old wooden ladder and hang it on the wall with thick jute or sisal rope. Ladder shelves can be used to display plants, books, candles, or other decorative items.
Tree trunk bench: Cut a tree trunk into thick discs and use it as a rustic chair. You can sand the surface to make it more comfortable and add cushions or seat cushions.
Conclusion:
These are some DIY rustic decor ideas. It is important to emphasize that the secret to this type of decoration is to incorporate natural materials and vintage or worn elements into the design. By knowing how to use each material creatively, you will be able to build a beautiful and personalized setting.
Simply put, DIY decorating is a fun and rewarding approach to creating a space that reflects your personality and personal style while encouraging sustainability and moderation. For these reasons, we encourage everyone to be creative and adventurous when decorating their spaces, making your home a space that reflects your unique personality.
DIY – FAQ:
How to keep outdoor water pipes from freezing diy
Protecting your outdoor plumbing from freezing can be a great and affordable DIY project. First, insulate the pipes using foam insulation or heat tape, both of which can be found at hardware stores. It is important to seal all pipes, especially in unheated areas. Additionally, creating a shield around the pipe using plywood and insulation can protect the pipe from harsh weather conditions.
Another important tip is to keep a small amount of water flowing through the pipes in very cold conditions because water rarely freezes. It is important to check the insulation regularly for signs of wear to ensure it is still working properly. These effective and efficient solutions will keep your installation safe all winter long without depleting your budget.
What does DIY mean
DIY stands for “Do It Yourself,” a term that encourages people to DIY, repair, or build a project on their own rather than hiring a professional. This approach allows for personal customization, cost savings, and the satisfaction of completing a project with your own hands. When it comes to home decor and renovation, DIY can reflect your style and creativity by transforming a space with a unique, personal touch.
From home furnishings to creating custom décor, DIY projects have endless possibilities to improve and beautify your home without the need for expensive tools or equipment. Embracing the DIY concept will not only improve your skills but also make your living space truly yours.
How to make DIY room decor
DIY room decor is a fun and convenient way to decorate your space. Start with a simple project, like turning a glass into a chandelier or creating a hanging frame from boards and rope for a rustic feel. You can paint old pictures and add succulents to living murals. Use the decoupage technique on jars or bottles to create a unique vase or table centerpiece.
Create a hand-painted canvas or create colorful threads to create a beautiful space. These DIY projects are affordable and highly personal, allowing your room to reflect your own style and creativity. Be creative and enjoy transforming your space with your unique decorating ideas.





Leave a Reply